[Lesson 6] Drawing Arms

Drawing Arms
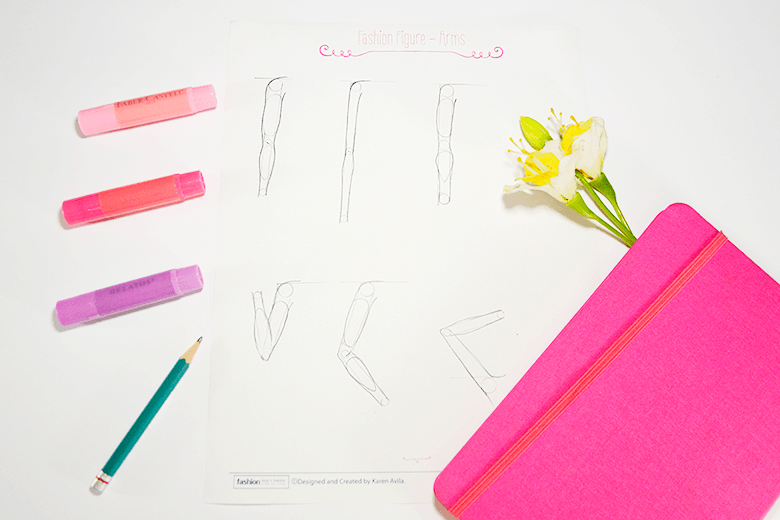
Drawing arms is SUPER EASY! As basic shapes you only need a couple of lines and circles. And if you are a newbie, you can use a couple of oval shapes.
You can follow today’s exercise in the practice-sheet for the arms, in a blank page, or in the fashion figure cheat-sheet when we start drawing figures. Today’s video is for you to get familiar with the process, with different poses, and to experiment with sizes and shapes.
1 1/3 heads and 1 1/4 heads??
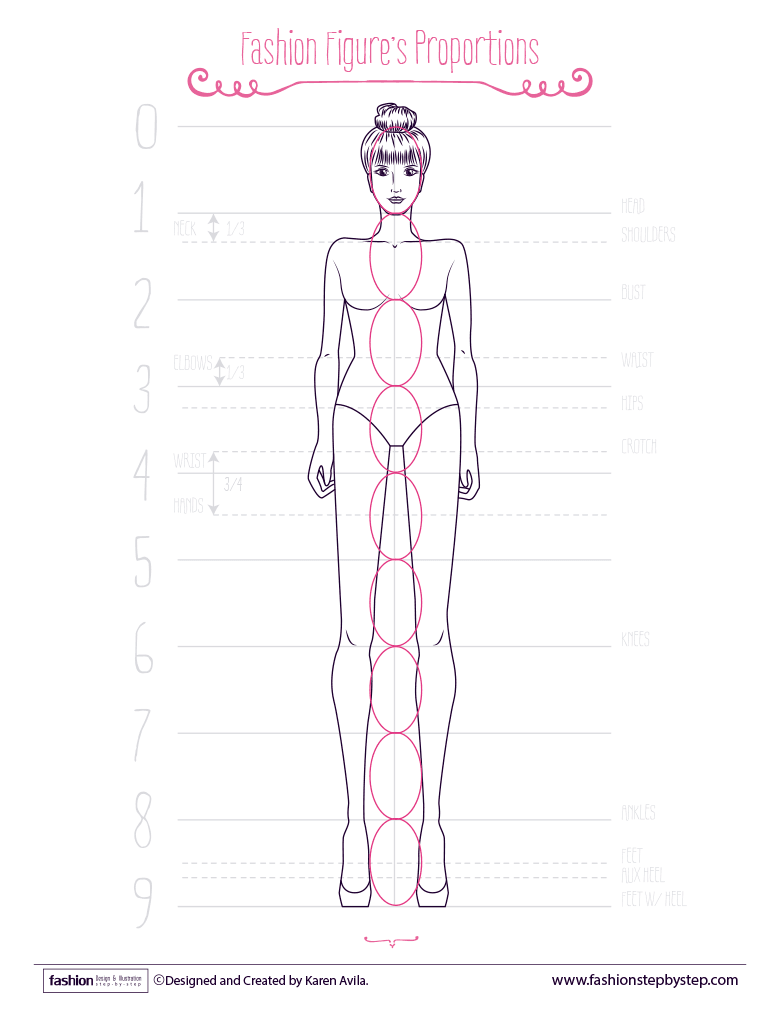
In fashion drawing, while drawing a fashion figure, we use as a measurement unit the head of the figure to draw the rest of the body parts, and to give them their proportions according to how many heads they measure.
In the image below, you can see the Fashion Figure Cheat-Sheet with a fashion figure, which is divided into 9 equal parts, and each one measures the same as the head.

In the video, I mention that you can follow the basic rule of ‘1 1/3 heads for the Top Arm and 1 /4 heads for the Forearm‘, or that you could follow the guidelines from the fashion figure cheat-sheet.
But, the truth is that the arms you draw can have any length and any width. As with everything, it is up to you, because you don’t HAVE to follow anyone’s rules or anyone’s style. You absolutely can develop your own style, and you can do it by exploring with different shapes, sizes, and proportions.
So, give yourself permission to draw as freely as you want. Experiment until you find the perfect size and proportions, those that you like the most, and that suit you best. Remember, in fashion drawing and illustration, there is no right or wrong.
Now it’s your turn!
DO-THIS
1. Watch the video.
2. Read the extra complement.
3. Experiment drawing different kinds of arms, explore with shapes, sizes, proportions, and postures.
4. Create as many arms as you want! In the next lesson, you will learn how to draw hands
5. Share your progress on Instagram. Use the hashtags #fashiondrawingbasics and #fashionstepbystep
Share your doubts, ups and downs!


