[Lesson 2] Drawing a Profile Face

How did you go with the Front Face? Did you practice?
Well, today is time to learn and create some Profile Faces, they are one of my favorite views because they are super easy to make, and they look SOOO pretty 😀
Okay, before doing anything, watch the video or take a look at the workbook, get familiar with the process and the new Drawing Face Cheat-Sheet, the Profile one.
And once you’re finished get back here and read the rest, it will help you to vary the features of your faces 🙂
Drawing a Profile Face
As I’ve mentioned before, you can make use of face photographs, you may find them on Pinterest, or take your own photos. This will help you to give to your drawings have the face features that you want.
We will use basic shapes, just as in the previous lesson. Remember that when you draw using basic shapes everything is so much easier. Besides, when you want to emulate a certain feature, you only need to adjust the basic shape and follow the same process!
Ok, ready?
Eyes
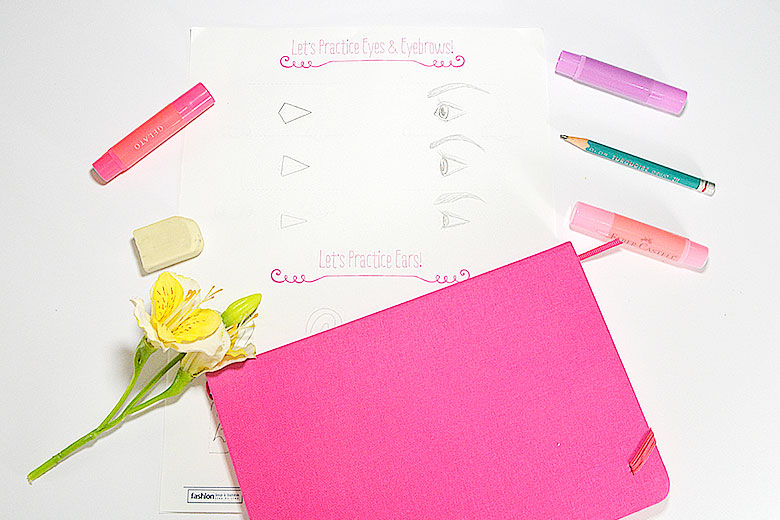
Once again, experiment with the eye’s shape (and the rest of features) until you find what you like the most. You can make the eye smaller or bigger, more complicated, more realistic, or simpler. You ALWAYS have the last word.
Here are other basic shapes you could use, and the outcome.
Eyebrows
Life is easier when you just need to draw one eyebrow, isn’t it? You can vary the thickness, size, shape, and expression.
Nose
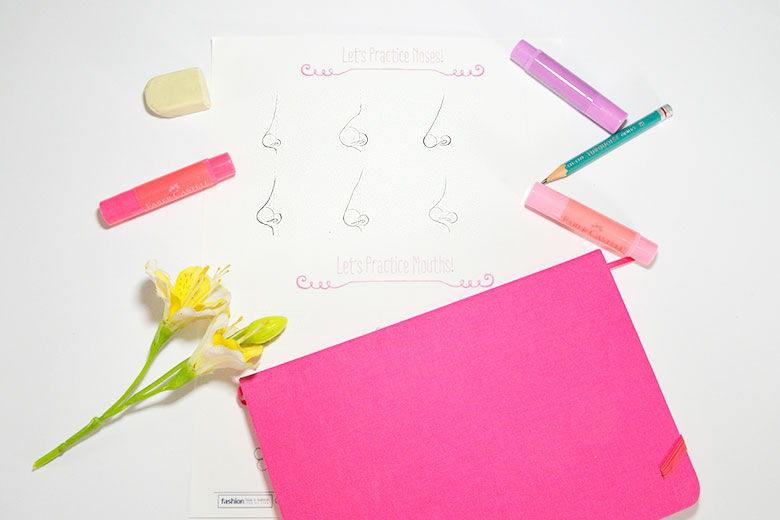
The nose in the profile view shows more personality, and it will be affected by the size and position of your basic shapes, the circles, and the shape of the nose bridge.
Mouth
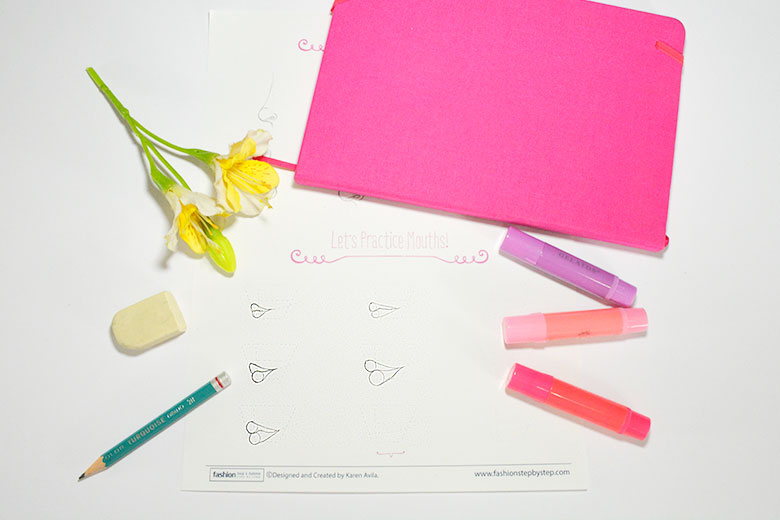
Lips in this view can also come in different shapes and sizes. So, experiment with varied sizes for the top and bottom lips.
Ears
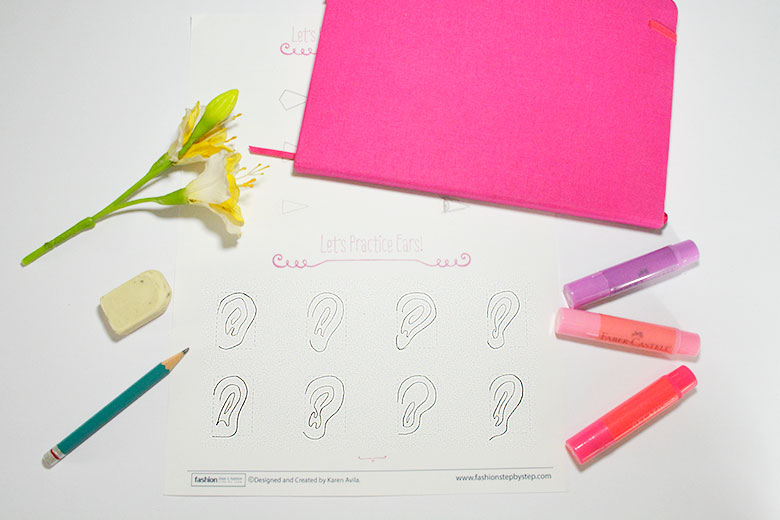
To draw ears, you only need to stay inside the dotted box and draw its inside as you prefer.
There’s no need to draw the ear ‘perfectly’, unless of course you want your illustrations and drawings to be super realistic.
The ear is one of those features that I rather not to give too much time, but as always it’s up to you the level of detail you want in your drawings.
Hair
For the hair you could follow the same process as in the last lesson:
1. Take a photo.
2. Observe and determine the main shapes for the hair and its direction.
3. In your drawing draw those main shapes.
4. Then, keep adding lines for the rest of the hair.
5. Start from the roots, and follow the direction of the hair from your guide photo.
6. Continue adding hair, but now from the bottom to the top.
7. As mention in the video, you can leave blank spaces in order to have a shiny look.
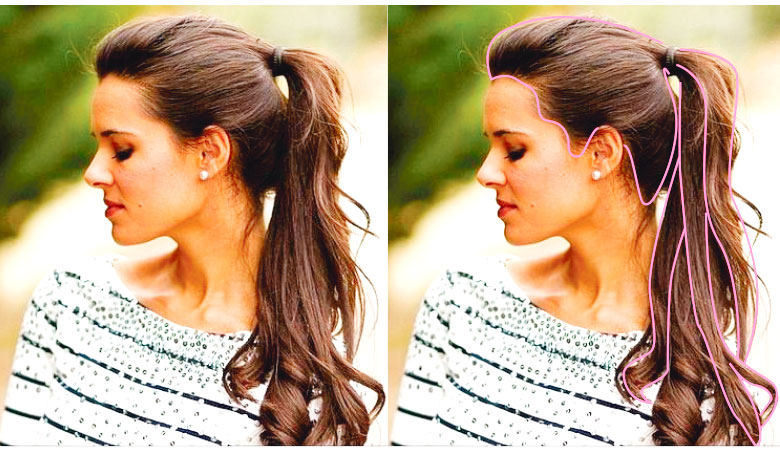 (Photo credit: Beauty High)
Now it’s your turn!
DO-THIS
1. Watch the video.
2. Read the extra complement.
3. Experiment drawing different kinds of eyes, noses, mouths and hairstyles for each of your faces.
4. Create as many faces as possible!
5. Share your progress on Instagram 😉 Use the hashtags #fashiondrawingbasics and #fashionstepbystep
Share your lovely creations!!


