[Lesson 3] Drawing a 3/4 Face

3/4 faces are one of the most complicated and scary poses to draw. I have to admit it, I only drew front and profile faces for quite a while because 3/4 seemed super difficult and daunting, especially because one side should be foreshortened.
But with a little bit of patience and lots of practice, there’s nothing you can’t do 😀
Great! Are you ready? As always, before doing anything, watch the video or take a look at the workbook, get familiar with the process and the 3/4 Drawing Face Cheat-Sheet, it is a bit longer. And once you’re finished get back here and read the rest 🙂
Drawing a 3/4 Face
You can utilize face photographs as a guide, you can also find them on Pinterest or take your own photos, so your drawings have those face features.
Today we’ll also use basic shapes, they are the same we’ve been using in the previous lessons. And, as you’ve had some practice it’ll be easier for you to create your 3/4 faces.
You ready?
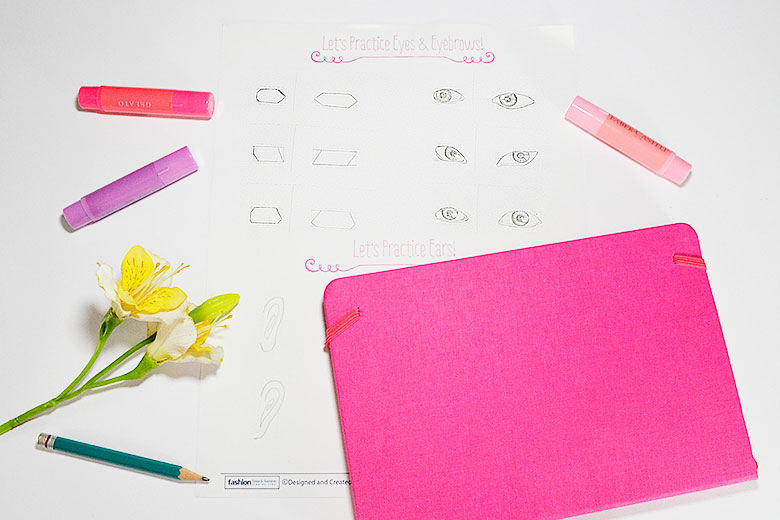
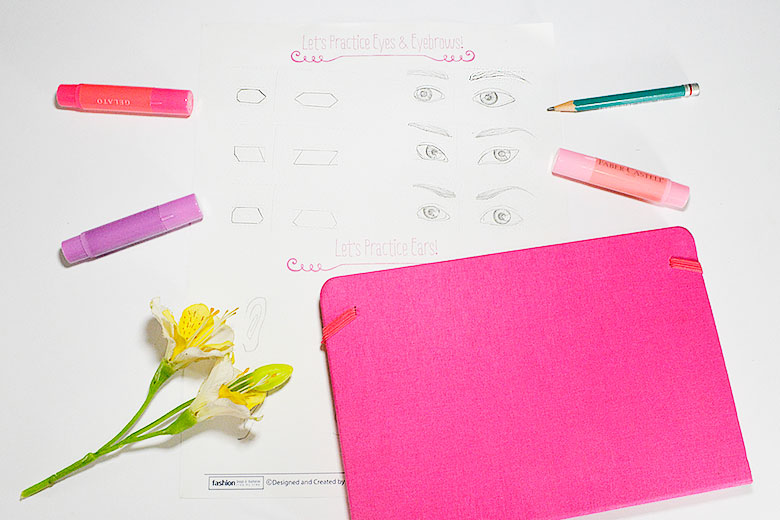
Eyes
You now know some of the styles you can give to the eyes, and surely you have your favorite style on the look.
So, add your favorite eyes to this face, starting with the basic shape. If you have several favorite styles for the eyes, then create a different face for each one of them!
Remember that the furthest eye should be foreshortened, it means it must be a bit smaller than the other eye.
Eyebrows
I kinda have a love-hate relationship with eyebrows because they can make or break your drawing. They make the faces look beautiful or weird, does that happened to you?
As everything in life, to master drawing eyebrows you have to practice. So, create some thin, some thick, and vary the expressions. Make sure that for the 3/4 faces you shorten one eyebrow.
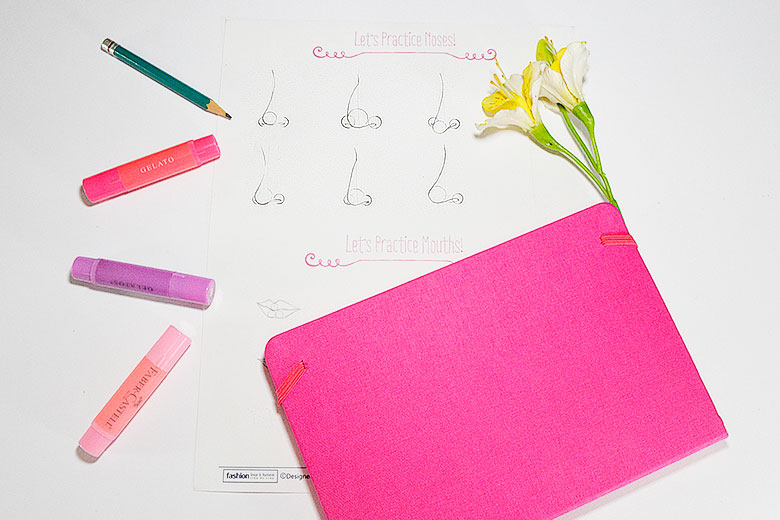
Nose
As in the profile face, the noses in 3/4 could be more detailed. And depending on the angle of the face, the nostril on the foreshortened side could be small and barely visible or not visible at all (if that’s the case, then the nose may look similar to its profile version.)
Play creating different kinds of noses varying the sizes and position of the basic circles.
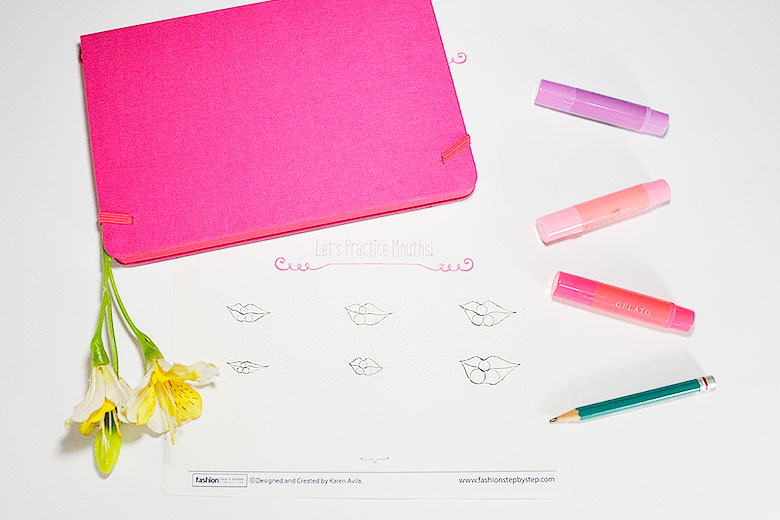
Mouth
The process to draw a mouth in a 3/4 view is the same as in a front view. The only difference resides in the foreshortened side. You may also experiment with different sizes for both lips.
Ears
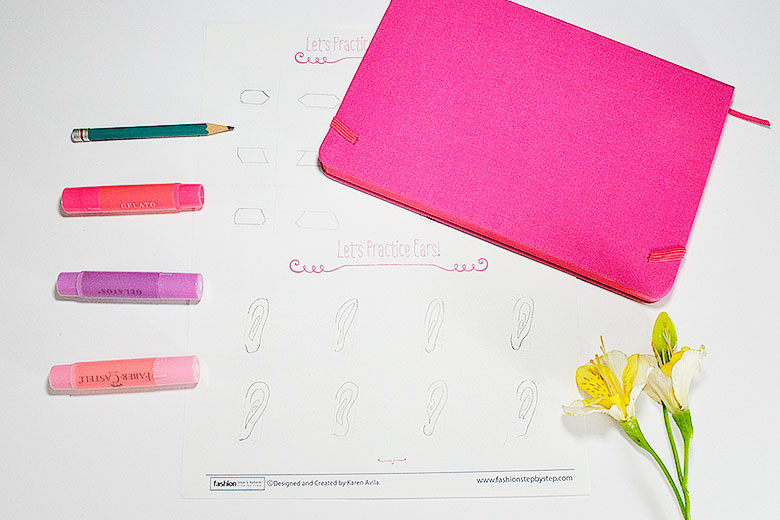
Only one ear is visible on the 3/4 face, and it looks a bit smaller than in the profile face. You can create different styles for the ears and stick to your favorite one.
Face Contour
When you start creating your 3/4 without the cheat-sheet, the face features will vary according to the angle of the face. And sometimes the eye, part of the nose, and the mouth on the foreshortened side will be even more reduced.
In order to determine how small the eye, nose, and mouth should be, you can make use of a photograph as a guide.
1. Determine the center line.
2. Take note of the position, shape, and size of the eyes, nose, and mouth on the foreshortened side.
3. Observe carefully, and emulate what you see in the pic.
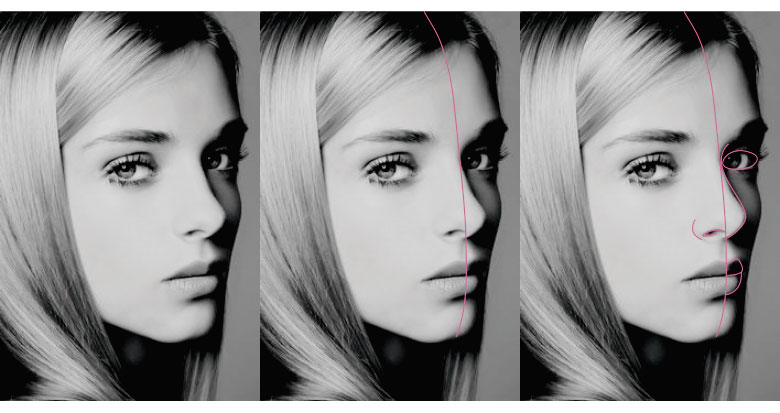
Over the time and with practice this process will become natural, and you won’t need any other tool to create your 3/4 faces.
Now it’s your turn 😉
DO-THIS
1. Watch the video.
2. Read the extra complement.
3. Experiment drawing different kinds of eyes, noses, mouths and hairstyles for each of your faces.
4. Create as many faces as possible!
5. Share your progress on Instagram 🙂 Use the hashtags #fashiondrawingbasics and #fashionstepbystep


