
[Lesson 4] Drawing an Uplifted Face

First things first, watch the video or the workbook, get familiar with the process and the Up Drawing Face Cheat-Sheet. And once you’re done get back here and read the rest 🙂
Drawing an Uplifted Face
In this face position, the lips and chin are dominant over the forehead and eyes. The forehead is shorter, the eyes look smaller, and the nose has a bit of more detail.
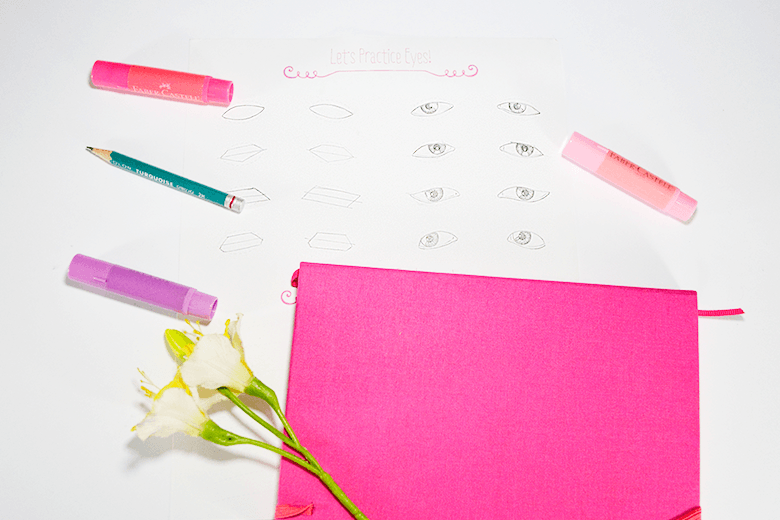
Eyes
In this cheat-sheet, the dotted shapes for the eyes are different than in the previous ones. Now they look like ‘almond’ shapes, and you can follow this shape reducing the height to create the eyes. Or you could draw another ‘basic’ shape inside, and create the eye based on the new shape.
This is how different ‘basic’ shapes look vs using the dotted ‘almond shape.
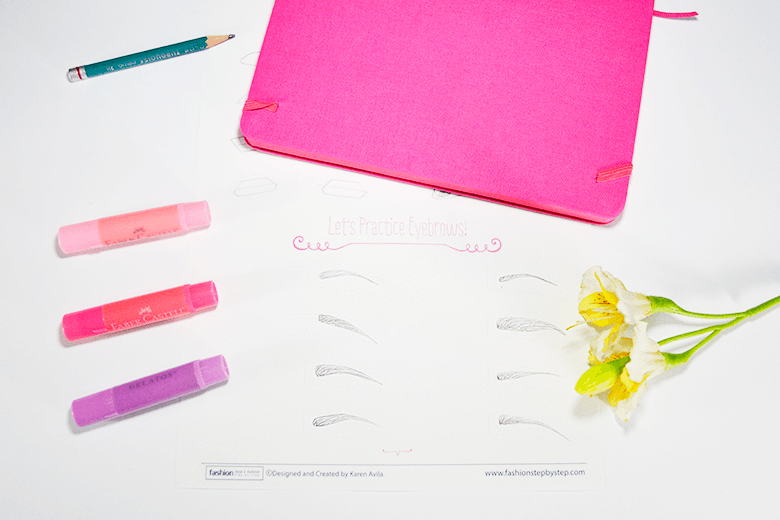
Eyebrows
Eyebrows look shorter and closer to the eyes, but you can still play with their expressions.
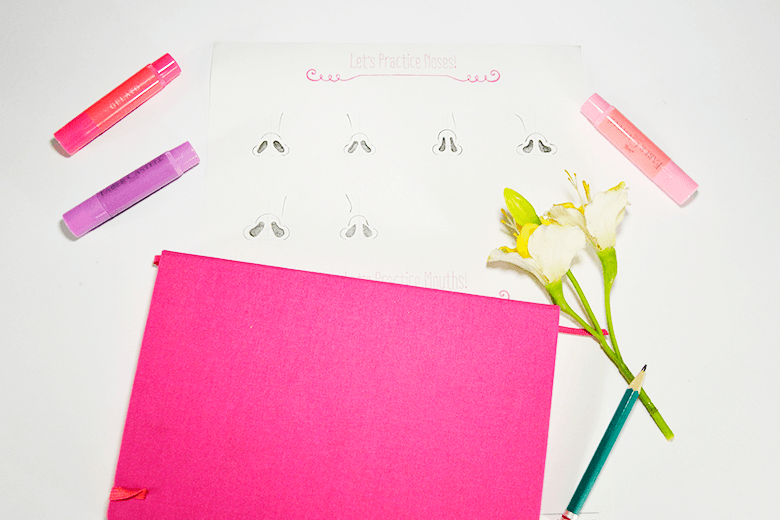
Nose
The nose shows more detail because the nostrils are completely visible. The nostrils may seem tricky to draw, but with some easy steps and practice you will be ok 😉 Besides, there are tons of different nostrils, they vary from person to person, so you don’t have to worry about making them look PERFECT.
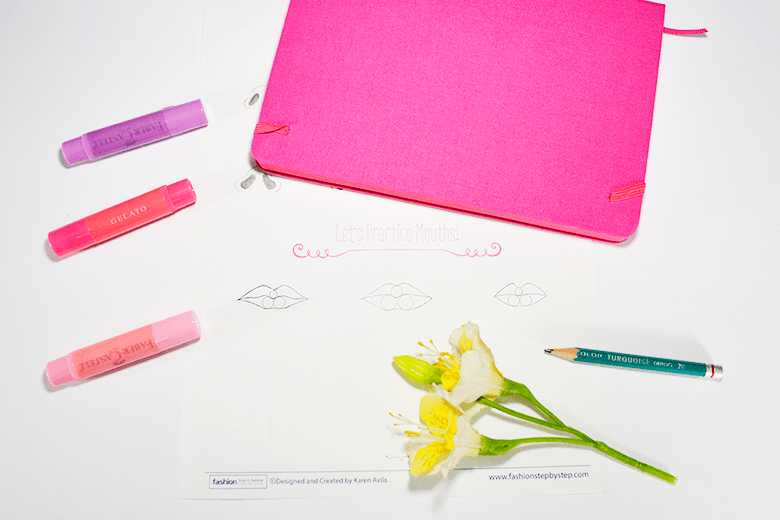
Mouth
The mouth is one of the central features in this kind of pose. Lips look bigger and more prominent. The process to draw them is the same as in front pose.
Now it’s your turn!
DO-THIS
1. Watch the video.
2. Read the extra complement.
3. Experiment drawing different kinds of eyes, noses, mouths and hairstyles for each of your faces.
4. Create as many faces as you want!
5. Share your progress on Instagram 😉 Use the hashtags #fashiondrawingbasics and #fashionstepbystep
Share your doubts, ups and downs!