[Lesson 5] Drawing a Looking Down Face

Oh, I love looking-down faces!! They look so natural, self-centered, and authentic that I can’t resist drawing this kind of face over and over again. Besides, they’re REALLY EASY to draw 😛
Okay, are you ready? As always, before doing anything, watch the video and the workbook, get familiar with the process and the Down – Drawing Face Cheat-Sheet, the video is a bit shorter. And once you finish, get back here and read the rest 🙂
Drawing a Looking Down Face
Once again, you can use face photographs as a guide for the face features.
Today we’ll also use basic shapes, they are the same we’ve been using in the previous lessons, so you certainly master them now 😉
The most prominent features in this kind of face are the forehead and the hair on the top of the head. The rest of features such as the eyes, nose and mouth are simplified.
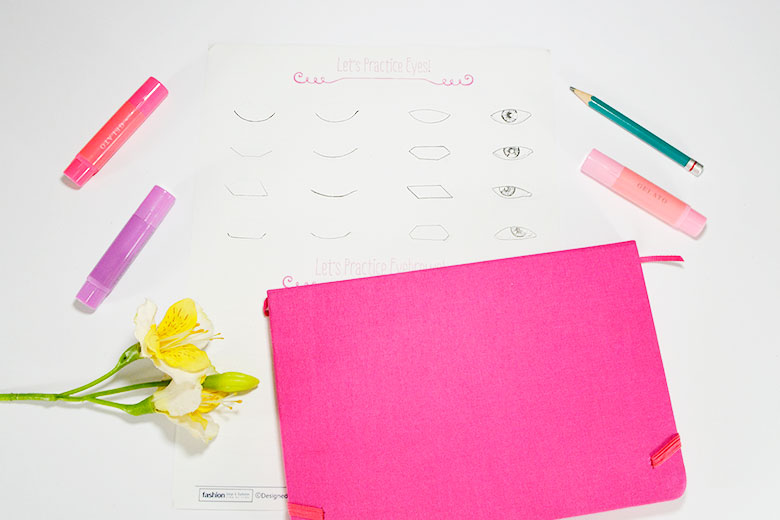
Eyes
For this face pose, you can draw the eyes closed or you can have them barely open. I really like how the face looks with closed eyes, but you can play and experiment until you find the right option for you 😉
To add your favorite eyes to this face you can follow the almond shapes in the cheat-sheet, or you can trace another basic shape and then continue drawing the eye.
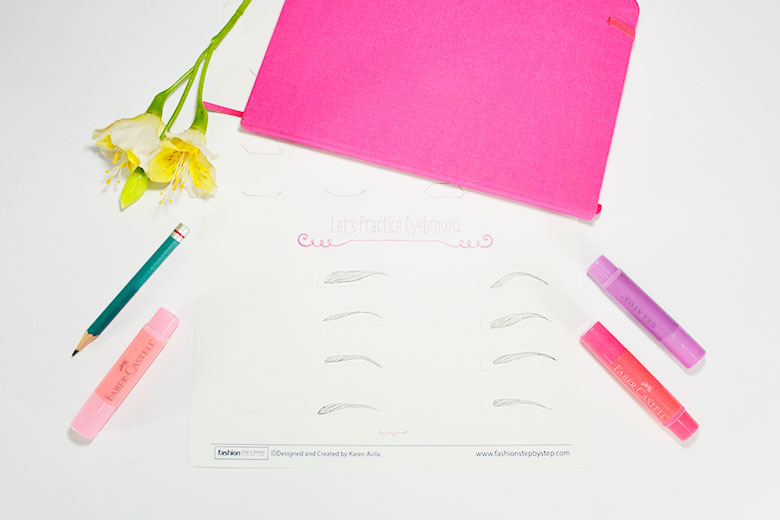
Eyebrows
Eyebrows are not prominent neither, so you can make them as simple as you want. And, as always, you can explore creating different shapes for the eyebrows until you like one of your choices.
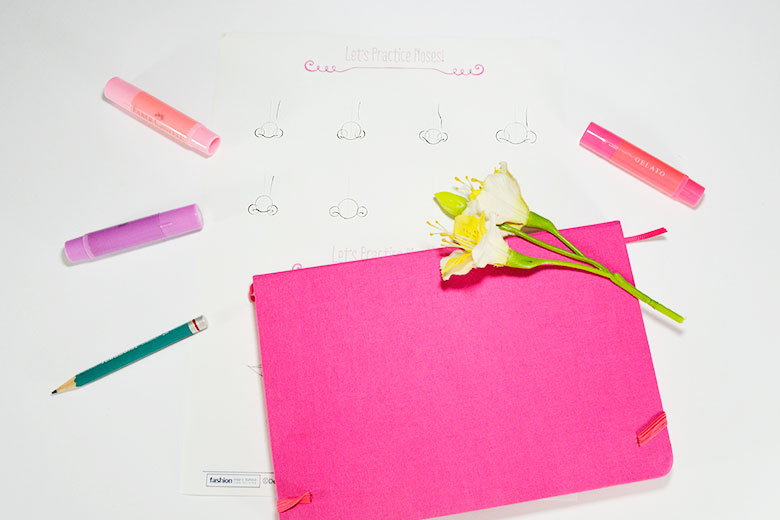
Nose
Noses don’t have to be very detailed. Outlining the tip of the nose, part of the nostrils, and the wings will be enough.
In order to come up with different nose styles, vary the size of the basic circles and their position, and the shape of the nose bridge.
Mouth
The mouth is still super easy to draw. Lips in this kind of faces look thinner, especially the top lip.
Hair
For the hair, you can follow the exact same process:
1. Take a photo.
2. Observe and determine the main shapes for the hair and its direction.
3. In your drawing draw those main shapes.
4. Then, keep adding lines for the rest of the hair.
5. Start from the roots and follow the direction of the hair in your guide photo.
6. Continue adding hair, but now from the bottom to the top.
7. As mention in the video, leave blank spaces in order to have a shiny look.
Now it’s your turn 😉
DO-THIS
1. Watch the video.
2. Read the extra complement.
3. Experiment drawing different kinds of eyes, noses, mouths and hairstyles for each of your faces.
4. Create as many faces as possible!
5. Share your progress on Instagram. Use the hashtags #fashiondrawingbasics and #fashionstepbystep