The importance of Fashion Drawing Basics + Drawing a Front Face

Are you ready for Lesson 3? Have you defined how your simple fashion illustrations will look? What elements will you include? What’s your source of inspiration?
Oh my, I’m so excited I can’t stop making questions! 😛
Okay, okay, today we’re going to cover the importance of fashion drawing, and we’re going to dive into our first hands-on lesson. Did I mention I bring with me not 1, not 2, but 7 quick videos?! YAY!

The importance of Fashion Drawing
Needless to say Fashion Drawing is important because in it remains the foundations of your fashion illustrations; the body, the face, the garments, the accessories… Without fashion drawing, you wouldn’t be able to create a fashion illustration.
So, instead of focusing on the importance of fashion drawing itself, I want to concentrate on the importance of practicing fashion drawing until you LOVE what you create.
And that leads me to one of the most common struggles people have with Fashion Drawing, which is drawing faces and figures.
Yes, drawing faces and fashion figures with different poses is a bit daunting, it takes a little while to master them, but you’re not alone.
I’ve met lots of persons struggling with this, and something they have in common is that some of them underestimate the level of practice that fashion drawing requires (especially if they want to draw more realistically) while for others it’s just a matter of finding the right method.
What is key in both cases is to keep exploring and practicing UNTIL YOU LOVE WHAT YOU CREATE.
Doing this will help you to:
- Find or craft the method that works for you.
- Discover your style, which will give to your illustrations their own, unique, and special personality.
- Get confident in your work, which I believe is one of the SUPER-MOST fundamental things.
So, what I recommend you to do, is to stick to one method, at the beginning. There are many different methods you can learn for fashion drawing, and the one I teach at Fashion Step-by-Step, in this course, and at my FDB Workbook is one of plenty. It uses some cheat-sheets to help you with proportions, and I dissect the process so that you start with simple lines. But, it is your choice to follow one or another method.
It is my job to provide you with tools and lessons that you can use as a STARTING POINT, and that you can experiment with and tweak to discover and craft your own way of creating things.
The thing is that you stick to one method for at least two-three weeks to see some progress on your fashion drawing skills. And once you feel confident enough with the method, start tweaking your drawings, start drawing the body and features the way you like them better. Maybe you like a shorter body, or longer arms, or a gorgeous plus-size figure. Explore, experiment, and keep creating!

How to draw a Front Face
This lesson is part of my Workbook Fashion Drawing Basics, and today it comes jammed packed with six short new videos!
Okay, before doing anything else watch the video below or read the lesson in your workbook (from page 6), and get familiar with the process and the Front Drawing Face Cheat-Sheet. Once you’re finished get back here and read the rest, it will help you to vary the features of your faces 🙂
In the video, you learned to use some basic shapes in order to come up with the Face Features, such as the eyes, nose, and mouth. Using basic shapes, instead of diving right away in more complicated steps, allows you to get familiar with the face proportions, to get practice, and to experiment. Then, you can create your faces with any particular feature in an easier and smoother way.
Once you’re familiar with this process, you can make use of face photographs (you may find them on Pinterest, or you could take your own photos) to emulate certain face features.
If you do so, then you will only need to vary the size and proportions of the basic shapes, and the rest of the process would remain the same.
1 | Eyes
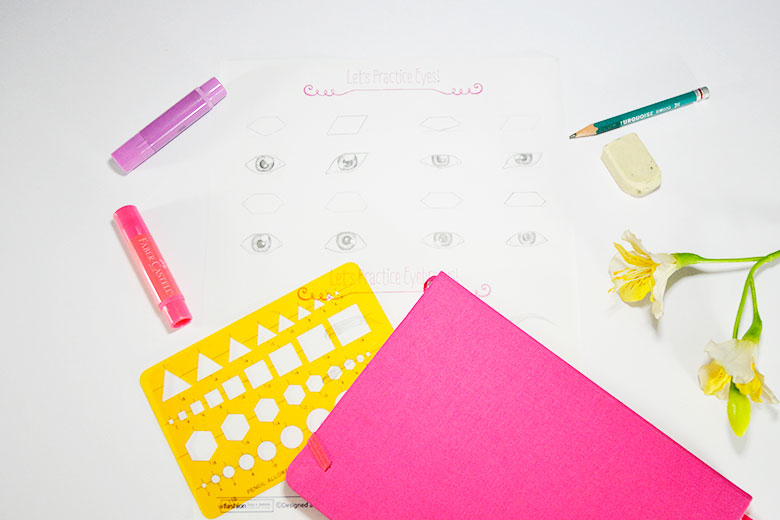
As you have seen, the eyes need a basic shape inside the ‘eyes boxes’, in the video I used the first option of the following image, but you can experiment with any of the choices.
The eyes in the image below are sorta realistic (but not too much), but in fashion drawing and illustration there’s never right or wrong. Keep exploring and experimenting until you find ‘the right style for you’. The eyes and features could look more cartoonish, super realistic or simpler, it is up to you, and it will always be. So, don’t force yourself to do it all ‘perfect’ nor to do it in a way you don’t like, keep true to your style. – If you don’t know what’s your style yet, be aware of what you like better when you draw, and what you think and feel is awesome.
And now, check out the video about creating different kinds of eyes 😀
2 | Eyebrows
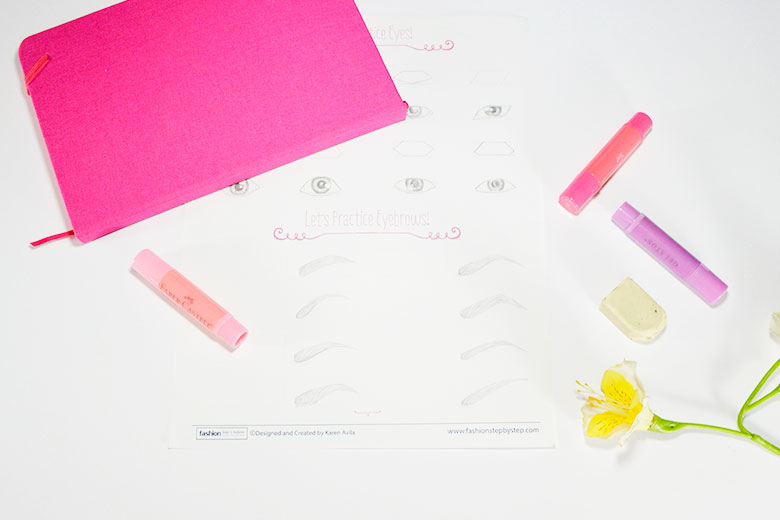
A super important feature, which will affect the expressions on your faces are the eyebrows. They come in a wide range of variations from thick to thin, and from long to short. And, although they’re often avoided, they can give a realistic and gorgeous look to your faces.
Here you can see several variations of thickness, size, shapes, and expression.
3 | Nose
The size and position of your basic shapes, in this case, the circles for the nose will affect its size and look.
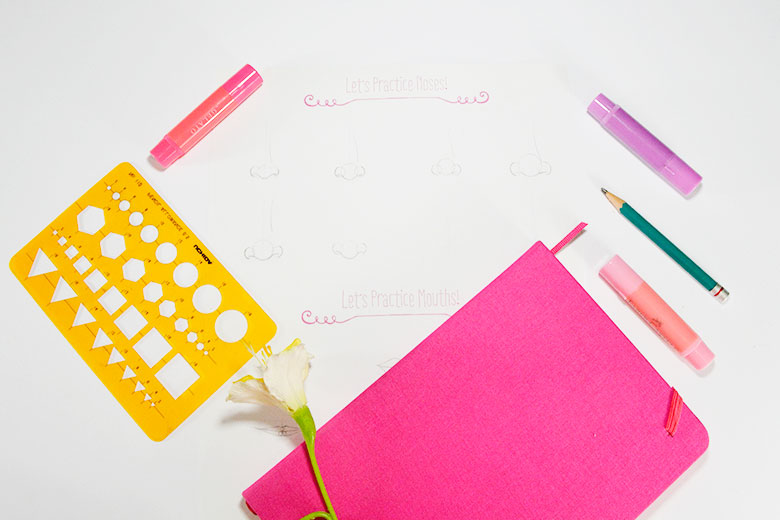
Check out the video about creating different kinds of noses 😉
4 | Mouth
Mouth and lips also come in different shapes and sizes, and you shouldn’t stick to only one certain shape or size. So, experiment and change the lip’s size and thickness. In all your iterations, you can start with the same basic shapes, the circles and ‘M’, and just vary their size.
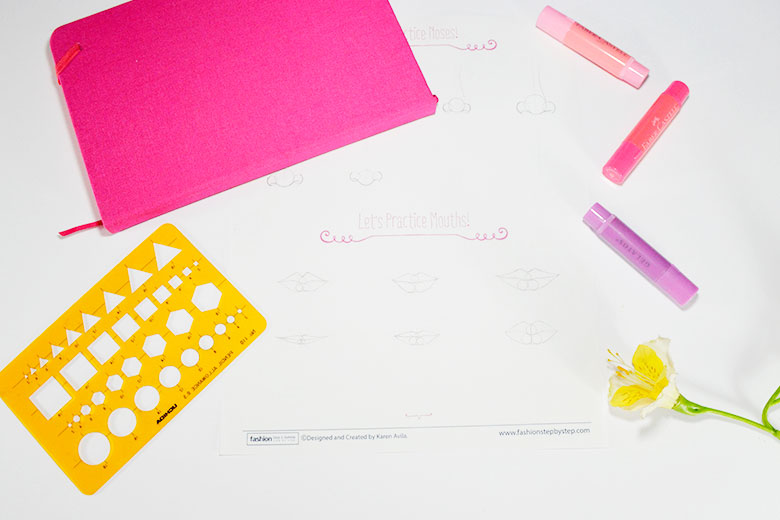
Now go and check out the video about creating different kinds of mouths 😀
5 | Hair
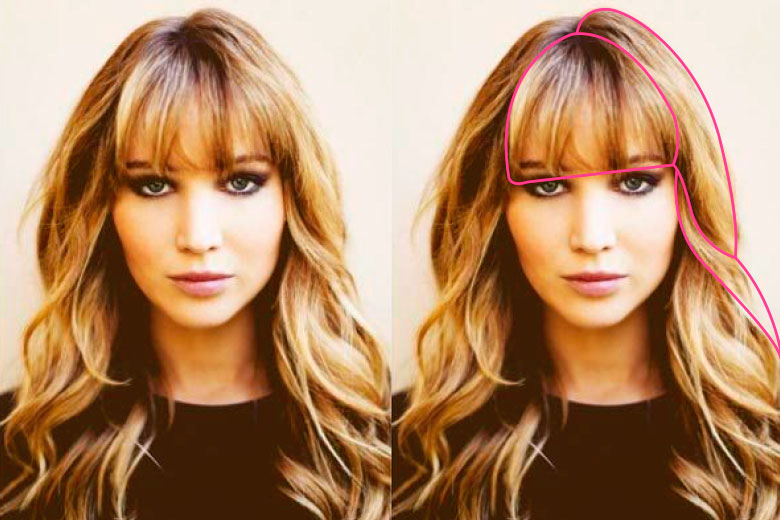
Hair sometimes seems tricky, but it is actually pretty easy and fun to draw. Here’s one of my favorite processes:
- Take a photo.
- Observe and determine the main shapes for the hair and their direction.
- In your drawing, draw those main shapes.
- Then, keep adding lines for the rest of the hair.
- Start from the roots and follow the direction of the hair in your guide photo.
- Continue adding hair but now from the bottom to the top.
- As mention in the video, you can leave blank spaces in order to have a shiny look.
- You can leave loose hair around the main hairstyle.
6 | Hairstyles
I LOVE hairstyles, they can give to your illustrations a distinct look, and they can help to enhance the outfit of your illustration. And, in the following videos you can watch how to draw different hairstyles for Straight, Curly, and Wavy hair.

Today’s assignment is
- Read today’s lesson, watch the videos and use your workbook.
- Create as many faces as you want. The more the better.
- Experiment drawing different kinds of eyes, noses, mouths and hairstyles for each of your faces.
- Keep your drawings handy, because we’ll give them color soon 😉Tip: If you’ll color with a certain art media on lesson 7, draw a couple of extra faces on the paper that you need for that specific art media. I’ll color with markers, so I’ll use bristol board.
- And share with me your drawings via email, or if you want to meet your classmates share your answers via Instagram with the hashtag #FashionIllustrationCourse.
Another intense class, right?!
Love!
![]()

